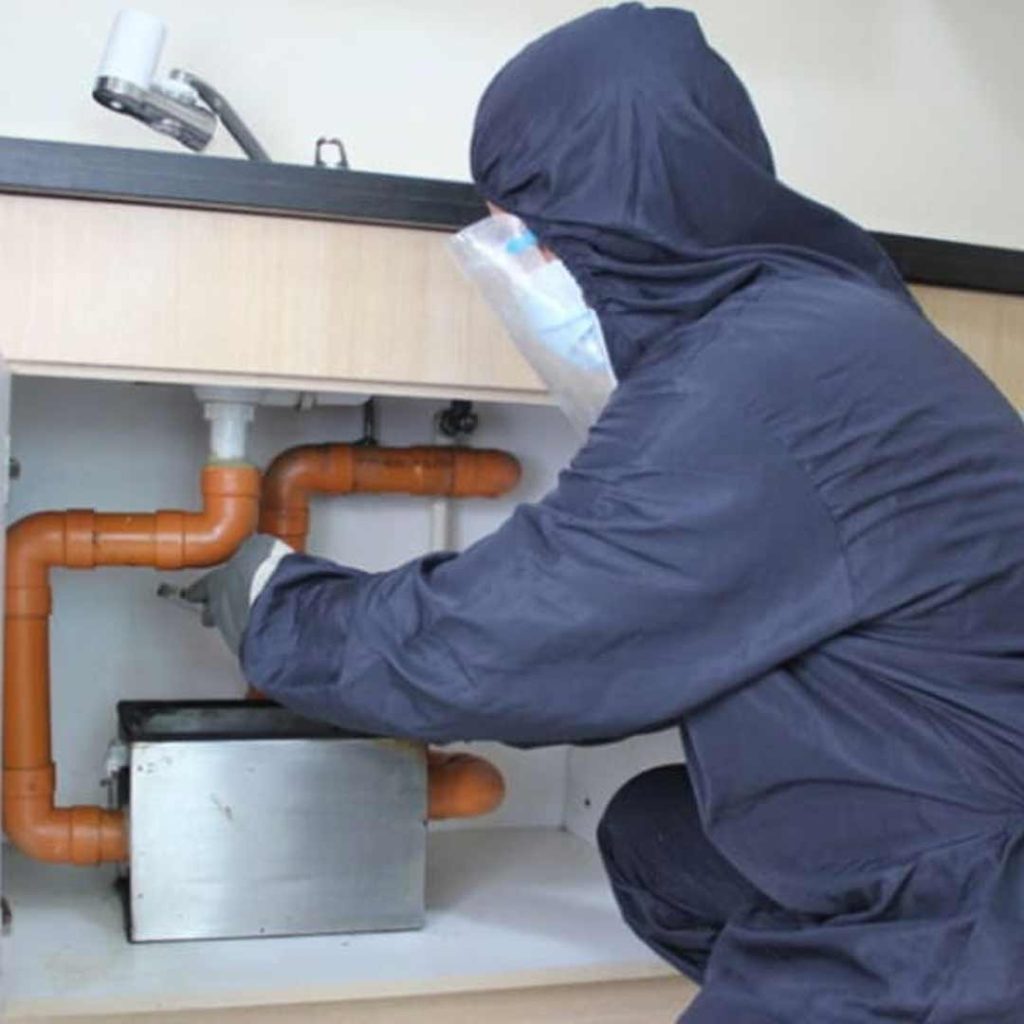
How to Clean a Grease Trap: A Step-by-Step Guide
A grease trap is an essential component of any commercial kitchen or restaurant. It helps to separate grease, oil, and fats from wastewater, preventing clogs and ensuring your plumbing system functions smoothly. As a part of building maintenance, regular cleaning of your grease trap is crucial to avoid unpleasant odors, blockages, and potential fines. If you’re wondering how to clean a grease trap, this guide will walk you through the process step by step.

What is a Grease Trap and Why Clean It?
A grease trap, also known as a grease interceptor, is a plumbing device that captures grease and oil before they enter the main drainage system. Over time, the trap fills up with grease, food particles, and sludge, reducing its efficiency. Failing to clean the grease trap regularly can lead to:
- Clogged pipes
- Foul smells in the kitchen
- Health and safety concerns
- Costly repairs or fines for non-compliance with regulations
By learning how to clean a grease trap, you can maintain a clean and functional kitchen while avoiding these issues.
How Often Should You Clean a Grease Trap?
The cleaning frequency for a grease trap varies based on its size and the amount of grease generated in your kitchen. Generally, it’s advisable to clean grease traps every 1 to 3 months. However, kitchens that produce a lot of grease may need to clean their traps more often. Regular inspections can help you figure out the most effective cleaning schedule for your grease trap.
What You’ll Need to Clean a Grease Trap
Rubber gloves
– Safety goggles
– A bucket or container
– A scraper or spatula
– A wrench (if needed to open the grease trap)
– Absorbent paper towels
– Garbage bags
– Dish soap or degreaser
– A hose or hot water source (optional)
Having all your materials on hand will help the cleaning process go more smoothly and keep things less messy.
Step-by-Step Guide: How to Clean a Grease Trap
Step 1: Turn Off Appliances and Prepare the Area
Before you begin, make sure to turn off any appliances linked to the grease trap, like dishwashers or sinks, to stop water from entering the trap while you clean. Place some absorbent towels around the grease trap to catch any spills.
Step 2: Remove the Lid
Gently take off the lid of the grease trap. Depending on the type, you might need a wrench or screwdriver. Be careful, as grease traps can release a strong smell when opened. Ensure the area is well-ventilated.
Step 3: Inspect the Grease Trap
Take a moment to look inside the grease trap. You should see three distinct layers:
– A top layer of grease and oil
– A middle layer of water
– A bottom layer of solid food waste and sludge
This will help you understand how full the trap is and where to concentrate your cleaning efforts.
Step 4: Remove the Grease Layer
Using a scraper or spatula, carefully scoop out the top layer of grease and oil. Place the grease into a container or garbage bag. Be thorough, but try to avoid splashing or spilling.
Step 5: Remove the Sludge
After you’ve taken out the grease, scoop out the sludge from the bottom of the trap. This layer usually contains food particles and solid waste. Dispose of the sludge in a separate bag or container.
Step 6: Clean the Interior
Once the grease and sludge are gone, clean the interior walls of the grease trap. Use a scraper to remove any leftover grease stuck to the sides. For tough residue, apply some dish soap or degreaser and scrub with a brush or sponge.
Step 7: Flush with Hot Water
If you can, flush the grease trap with hot water to eliminate any remaining residue. This will help break down leftover grease and ensure the trap is clean and ready for use.
Step 8: Reassemble the Grease Trap
Once cleaned, securely replace the lid. Make sure all connections are tight and check for any leaks.
Step 9: Dispose of Waste Properly
Avoid pouring grease or sludge down the drain. Instead, dispose of the waste according to local regulations. Many areas have specific guidelines for grease disposal, so be sure to adhere to them.
Tips for Maintaining a Clean Grease Trap
Train Your Staff: Teach kitchen staff about proper waste disposal practices, like scraping food and grease into the trash before washing dishes.
Use a Grease Trap Cleaning Log: Keep a record of when the trap is cleaned to ensure it stays on schedule.
Avoid Pouring Grease Down the Drain: Even small amounts of grease can build up and cause clogs.
Hire Professionals: For larger grease traps or those needing deep cleaning, consider hiring a professional grease trap cleaning service.
Why Regular Cleaning Matters
Regularly cleaning your grease trap not only prevents plumbing issues but also ensures compliance with health and safety regulations. A clean grease trap enhances the overall hygiene of your kitchen and helps avoid unpleasant odors that could affect your customers’ experience.
Conclusion
Cleaning a grease trap may not be the most glamorous task, but it’s essential for any kitchen. By following this step-by-step guide, you now know how to clean a grease trap effectively. Regular maintenance will save you time, money, and headaches in the long run.
If you prefer to leave this job to the experts, professional grease trap cleaning services can handle it quickly and efficiently. Whether you choose to do it yourself or hire help, keeping your grease trap clean is a crucial part of running a successful kitchen.

0 Comments